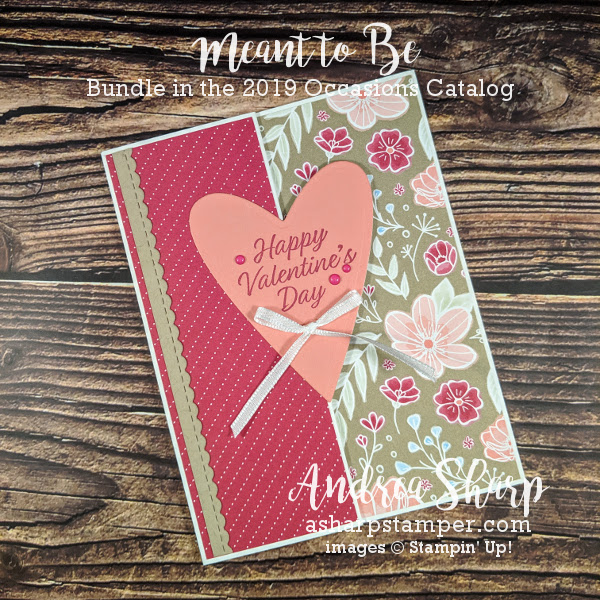
I’m not going to blog about “swinging” in the 70’s sense (if you know what I mean). I’m using that word here to describe a bit what is going on with this card. You can’t tell from the picture, but the right side of the heart is covering a half-heart cut in the base cardstock. From the picture it looks like a normal “Z-Fold” card with an element that overhangs the edge. But no – it is a little different! I designed this card using a “partial diecutting” technique so that I could show that to the South Burlington stamp club. This card uses the technique in its most basic form. But it can be easily incorporated to create more advanced designs.
I’ll attempt to describe how I used the technique for this card, let me know if anything is unclear. I did the first two steps in advance as I prepped for the club meeting. The rest the group did that evening.
- Score the cardstock at the half-way point (like usual) – for this card it was at 4 1/4″
- Mark lightly in pencil a vertical line at the half-way point in the left side – here it was at 2 1/8″
- Line up the vertical center point of the heart die over the pencil line and hold in place with washi tape (this helps prevent it shifting while cutting).
- Put the paper down on your die-cut plate and put the upper plate over the right side of the heart die. You want to do your best to line up the edge of the top plate with the pencil line. Keep in mind that the Big Shot plates have a beveled edge, so you want to line up the inside of that bevel with the pencil line.
- Run through the die cut machine like usual. What is happening is that pressure is only applied to the part of the die that is covered by the top plate, so you get a partial die-cut.
- Erase the pencil line
- Score at the 2 1/8″ mark above and below the partial die-cut heart.
- Decorate as desired. Here I applied DSP on the left panel and added a full die-cut heart over that and the partial die-cut.
 |  |  | |
 | |||

 Designer Series Paper")


