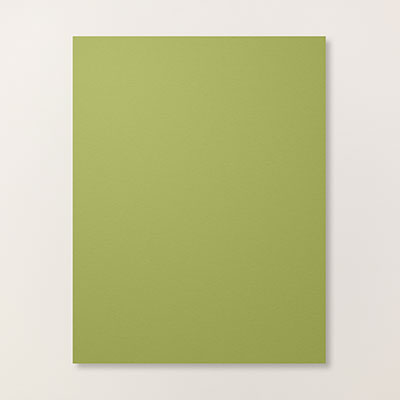
 I created this box as a hostess gift for a recent workshop. I had just created several of these boxes in a Christmas theme for the Holiday Stamp-A-Stack and I really wanted to make one in a fall theme. I just LOVE making these boxes! They are the perfect size to hold a little gift – this box held a sampling of different ribbons. These boxes are soooo easy to make, and you can go simple on the decorations or more elaborate. I think this one is kinda middle-of-the-road in terms of decoration. What I really love is that you use almost a full sheet of standard 8 1/2″ x 11″ cardstock to create the body of the box.
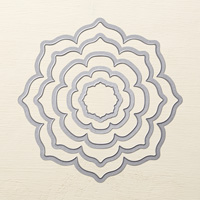
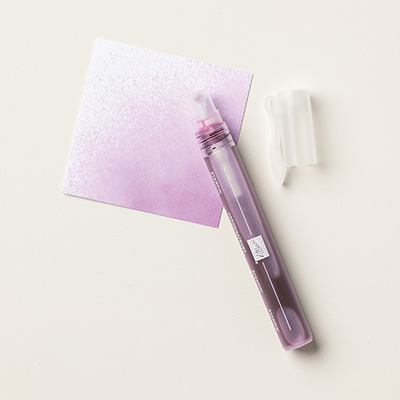
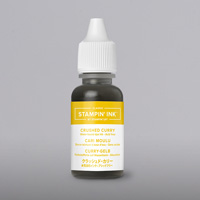
I created the pretty flower on the top using a technique that I learned at a recent demonstrator event. To create a flower you cut 10 pieces of tissue paper or coffee filter at once using a Floral Frames die. The gal who taught us used colored tissue paper that she purchased at the store. For this box, I used white coffee filters instead with the middle sized die. After die cutting, staple a couple of times in the center (in the shape of an ‘X’) using our cool new stapler. Working from the top down, separate each layer from the ones below it and scrunch. Once all layers have been scrunched, separate and pull apart the layers until you have a flower that you like. To get the pretty yellow color I mixed Crushed Curry ink refill with alcohol in a spritzer bottle. I spritzed the flower until I had the color that I wanted. I spritzed several times, let it dry and then spritzed again to darken up some areas that seemed too pale. I die cut two leaves using the Autumn Accents die, sponged the edges, adhered them to the box and then glued down the flower so the leaves were sticking out underneath. Add a banner greeting, some ribbon around the box and voilà!
Product List


