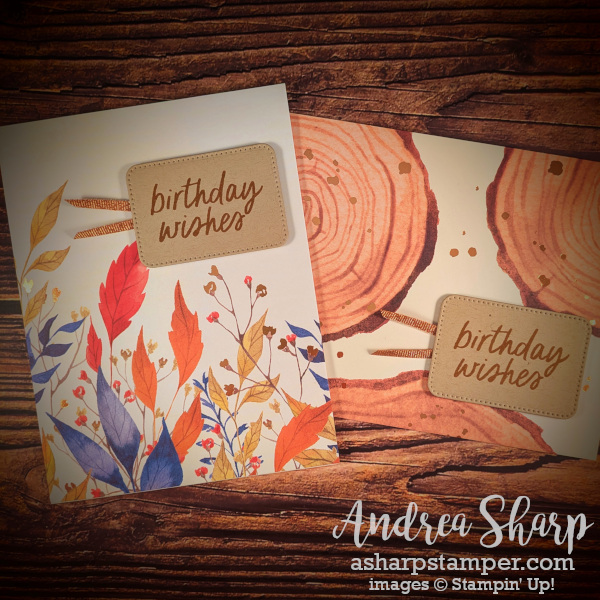
I recently put together the Autumn Abundance Paper Pumpkin kit that I received in September 2024. The kit created 9 cards; three each of 3 different designs. In the past I’ve shared that I like to trim the card bases in these kits so I can get more out of them. These two card designs feature the back side of card bases from the kit. I cut the card bases in half so I had two beautifully decorated panels and used the “front” to complete the cards as designed. I attached them to a heavy weight card base, and decorated as described in the instructions. For these cards shown, I also attached the panels to a heavy weight card base, and then added a stamped and diecut greeting with a touch of copper ribbon. Talk about quick and easy!!! I will donate these 6 cards for the October card ministry and then add a few more cards to meet the rest of the numbers needed.
I wanted to share these today because Stampin’ Up!™ is having a kit sale right now. Here’s the image that gives some info on the sale. You can click on the image to see the sale pricing for the kits.
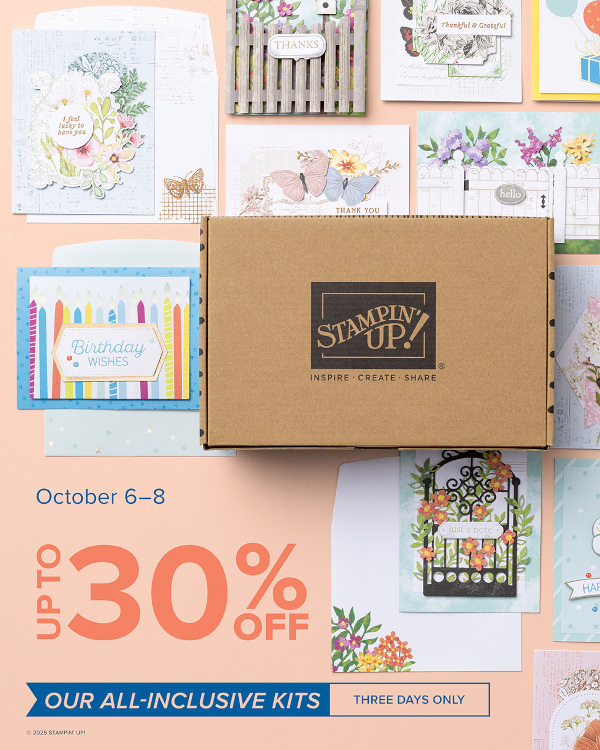
There are some really great kits that are included in the sale. You can save on kits for Holiday card or tag making, Autumn or Halloween decor, or kits for projects that are great at any time of the year. I realize I may be confusing things by sharing a project that uses parts from a Paper Pumpkin kit. Those kits are NOT included in the 3-day sale. BUT, the idea that I am sharing about extending a Paper Pumpkin kit will also apply to any of the kits that are on sale. For instance, the tags in the Nutcracker Tags kit could be great focal images on a card. Or the Beautiful Blues kit has card bases that are decorated on the front and back. You could do exactly like I did here and stretch the card bases to convert them into two cards each.
The point is – don’t feel limited by what the kit instructions say. Of course, it’s totally fine to create a project as intended and the instructions tell you. But… if you want to explore further, go ahead!!!
Product List ![Nested Essentials Dies [ 161597 ]](https://assets1.tamsnetwork.com/images/EC042017NF/161597s.jpg "Nested Essentials Dies [ 161597 ]") | ![Stampin' Dimensionals [ 104430 ]](https://assets1.tamsnetwork.com/images/EC042017NF/104430s.jpg "Stampin' Dimensionals [ 104430 ]") | ![Crumb Cake 8-1/2" X 11" Cardstock [ 120953 ]](https://assets1.tamsnetwork.com/images/EC042017NF/120953s.jpg "Crumb Cake 8-1/2\" X 11\" Cardstock [ 120953 ]") | |
![Pecan Pie Classic Stampin' Pad [ 161665 ]](https://assets1.tamsnetwork.com/images/EC042017NF/161665s.jpg "Pecan Pie Classic Stampin' Pad [ 161665 ]") |
![Simply Said Mix & Match Photopolymer Stamp Set (English) [ 163756 ]](https://assets1.tamsnetwork.com/images/EC042017NF/163756s.jpg "Simply Said Mix & Match Photopolymer Stamp Set (English) [ 163756 ]")


