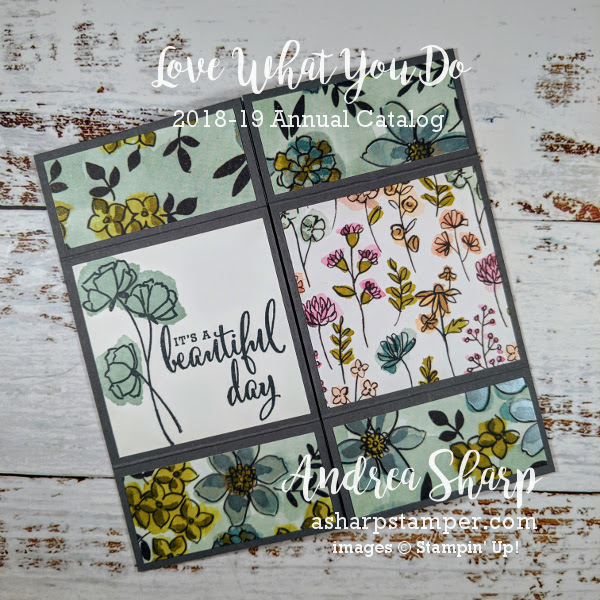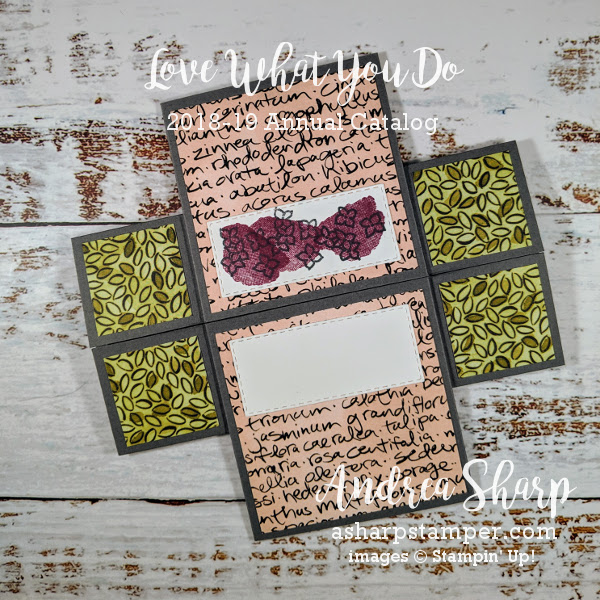
For the April meeting of the Essex stamp club, we worked on one more complicated card (instead of doing 2 as is usual). One of the members had requested to learn about the “never-ending” card, so I took this opportunity to show it to them.

This card design uses lots of DSP or stamped images to have something different in the various sections as you move through the card. This gave me an opportunity to show the gals the absolutely gorgeous (but sadly retiring) Share What You Love DSP.

The group started by assembling the Basic Gray card base layers. The papers were all cut and scored, so the gals just needed to put strong adhesive in the corners. I like the Tombow Multi (green) glue for this job because it holds wonderfully, and you have a few seconds to get your alignment right before it sets up. Once they had the panels glued together, they set it aside to finish drying.

The group then did all of the stamping before working through the assembly. For the details on the cutting, scoring, and assembly please refer to this tutorial on the SplitcoastStampers web site. I followed the instructions, and this card came together relatively quickly. The biggest challenge was picking which DSP pieces and stamping to do on each panel.
These cards can be a little time consuming to cut and put together, but working the card when you have it all done is quite mesmerizing. I encourage you to give it a try with some coordinating paper scraps that you may be saving up. Whoever receives your creation will think that you are soooo clever to come up with something so unique!
Product List


