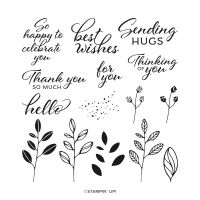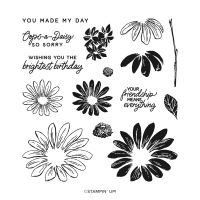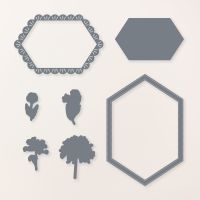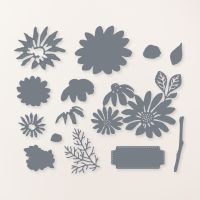
Over the weekend I attended an online stamping event. There were 4 presenters and each of them led us in making 2 projects. It was loads of fun and I actually completed ALL of them! This card was the first project that kicked off the event. For each project the presenter had 3 different samples that were highlighting the technique or design. This one featured a greeting that is on a diecut, that is framed on the card front. When you open the card the greeting lifts up and pops up as you move the top up and back. It is super cool!

This is what the card looks like opened up. You can see from the shadow that the greeting diecut stays attached to the inside layer of the card and is popped up when the card is opened. One thing that I’ve found with my card is that the leaf and top daisy that’s on the front around the greeting gets snagged when I’m closing the card back up again. The next time I make one of these (and there will definitely be a next time), I’ll make sure that anything I put on the front near the pop-up element has a bit more space so it doesn’t affect the pop-up mechanism. That’s something that I have come to appreciate with crafting – each project is a small investment and it’s an opportunity to learn something new. I now have a new “fun fold” technique and an insight of how to do it better next time. The stakes are low with paper, so don’t get discouraged if something doesn’t turn out exactly as you thought. Learn from it and try again!
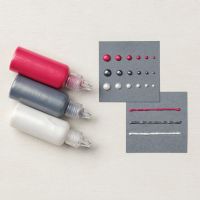
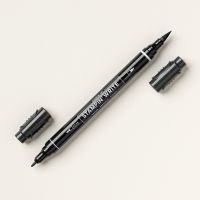
I do want to highlight a couple of things that I did on my card that may not be obvious. First, I used my black Stampin’ Write marker to add black centers to the cluster of small daisies on the inside of the card. This marker is better than the Stampin’ Blends because it won’t bleed through the paper. Easy flower centers – no mess! The second thing is in the center of those same stamped flowers that are on the front of the card. The presenter used some adhesive embellishments on her card, but I don’t have them. So I decided to make my own instead! Stampin’ Up! has this cool product called Pearlized Enamel Effects Basics. I bought them when they first came out, and have used them a couple of times. This is something else that I had to learn more about to use them better. So here is my tip that I found:
- Don’t apply dots of the liquid directly to the paper, it tends to flow a bit and flatten
- It is much better to put a bunch of dots of the liquid on a Silicone Craft sheet
- Let the dots sit for quite a while to dry and harden; the larger the dots, the longer it takes
- Once fully dry, use very small spots of liquid glue (green glue) on your project and then place the dried dots on the project
- Now you have custom embellishments in the size you need, and you can keep making more!

