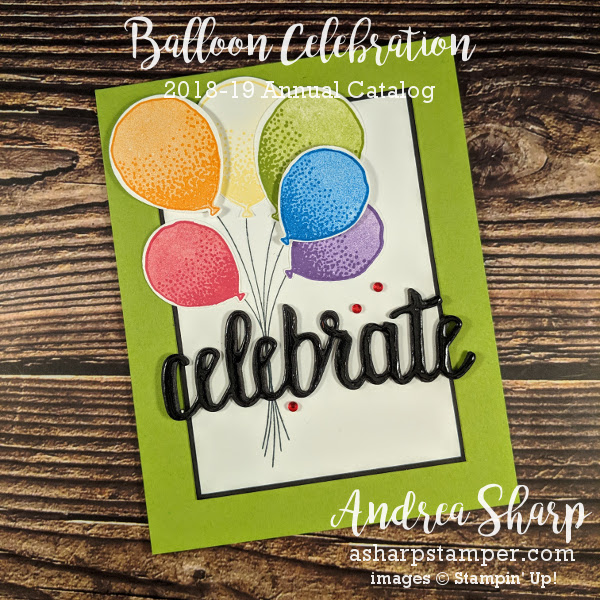
In my last post I shared a card that featured a glossy die-cut word, but I didn’t divulge how we made the word. Last night the Essex stamp club group made this card featuring “celebrate” that is created the same way. Now that both clubs have seen this, I’ll share the “secret” to getting this unique look.
- Create a stacked die-cut: I cut three of the words in black cardstock and glued them together to create a single, thicker word. I like using the Tombow Mono Multi Liquid Glue (aka green glue) for doing this step since it allows you to work with the paper for a wee bit before the bond hardens up.
- Use the Fine-Tip Glue Pen to apply that liquid glue over the top of the die-cut. The glue will flow, so smoothly work from one end to the other to avoid thicker spots which will dry more slowly.
- Set aside the die-cut to dry before adhering to your project. I waited about an hour before touching it to glue it down. If you touch it while it is tacky, your fingerprints will be permanently part of your creation.
- I hope that you’ll give this a try!
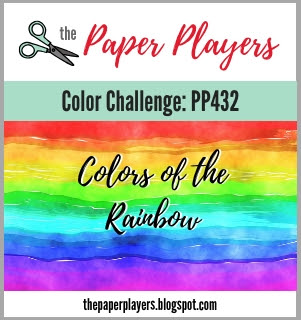
I designed this card specifically for this current color challenge. I even ordered my balloons in ROYGBIV order (although there is no I-Indigo). Nice, bright rainbow colored balloons are a wonderful way to celebrate a special birthday!
Edited 3/16/19: I’m super excited to share that Anne Marie chose my card as her selection for the headliner group for the challenge (which is like a runner-up). Finding that this morning was a lovely way to start my day – thanks Anne Marie!
Product List  |  |  | |
 | |||
 | |||
 |


Andrea, this is such a happy card! Love the dimension and the pop of sparkle. Thanks so much for joining us this week at The Paper Players!
Thanks so much Anne Marie – I’m so glad that you liked my creation!
Andrea, this is such a fun bunch of balloons to celebrate! Love the rainbow of colors! So happy you joined my challenge at The Paper Players this week! XX
Thanks so much Claire – I really appreciate your kind words. I love creating with a rainbow of colors, so I was super excited about your challenge.
Cute bunch of balloons…a fun way to celebrate! Love your card. Thanks for joining us at The Paper Players!
Thanks so much Laurie – I had lots of fun creating for the challenge.