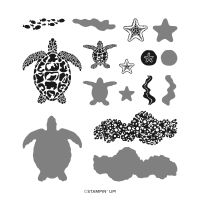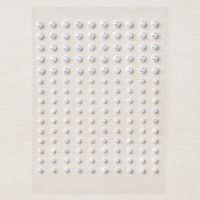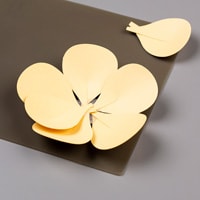
I created this card during a recent online event. The instructor showed us a very cool technique using a home crafting tool that is used for lots of things – but not typically card making. I’m talking about the lowly hot-melt glue gun. A little later I’ll describe the technique, but first I want to draw your attention to the overall vibe of the card. It’s getting cold here in Vermont, and it’s nice to have a card that makes me think of summer and spending time at the beach. It’s easy to focus on cards for the current season, but it is nice to every once in a while do something for a different time of year. For me it’s like a mental refresh that rejuvenates me.
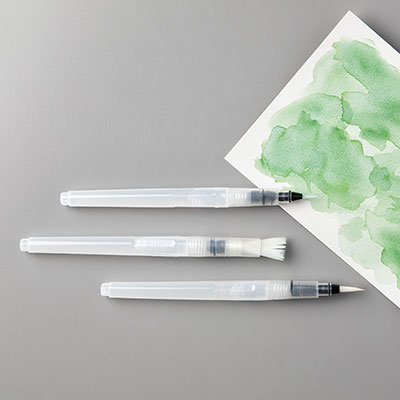
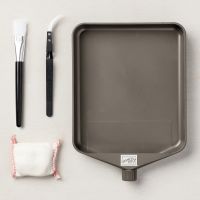
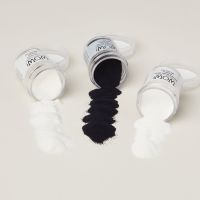
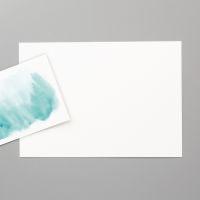
This technique is actually not very hard and it’s a new way to create texture on your cards. You will need the following supplies to make the water panel: watercolor paper, hot melt glue gun, water painter, silicone craft sheet, white embossing powder and a heat tool. You will also need something that protects your work surface like a glass mat or a piece of cardboard.
Here are the steps to create the water panel:
- Place the watercolor paper on the silicone craft sheet
- Heat up the hot melt glue gun until the glue flows freely
- Draw waves with the hot melt glue on the watercolor paper
- It is ok if there are breaks in the lines, and have some that are partial
- After the glue has set (which happens quickly), rub the embossing buddy over the watercolor paper
- Have your white embossing powder ready, ‘cuz you’ll need to work quickly
- Use the heat tool to reheat the glue lines until they are tacky.
- Sprinkle the white embossing powder over the tacky glue
- The glue sets quickly, so if there are “naked” patches, reheat the glue and apply embossing powder again
- Use the heat tool to melt the embossing powder over the hot glue
- If the glue looks smooth, repeat the process to add more embossing powder
- Once the paper has cooled, set it on a piece of paper towel
- Spritz the paper with water with a generous amount of water, so that there is a little water sitting on the surface
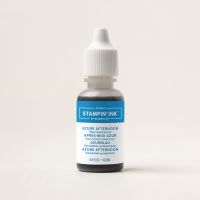
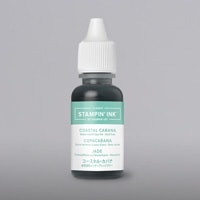
- On a non-porous surface like an acrylic block, put a couple of drops of two shades of ink refill
- I used Azure Afternoon and Coastal Cabana
- Use a water painter or other watercolor brush to pick up Coastal Cabana ink and touch to the water on the surface of the watercolor paper
- Use the brush to move the ink in portions of the watercolor paper; leave some spots un-inked
- Clean the water painter and pick up Azure Afternoon ink and repeat the process in other spots of the water color paper
- Allow some overlap of colors to create variation in the color texture
- Continue adding both ink colors and use the water painter to move the ink around to create a watery image with white waves
- You can air dry the piece or use the heat tool to dry it; I opted to use the heat tool because I’m impatient
- Once it’s dry you can use a paper towel to remove ink from the surface of the white waves
- Use your beautiful panel on your creation!
- And – you can create other patterns with this technique, so don’t be afraid to experiment
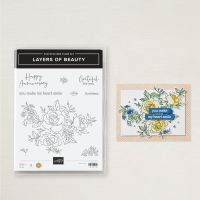
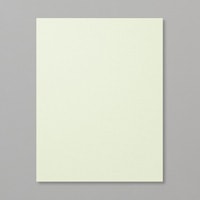
The cardstock that I used for the card as well as the stamp set are part of the Seasonal Sale that ends at midnight tonight. Use this link to shop the sale, and please add host code SSMQNXK7 when you check out (if your order is < $150).
Product List
