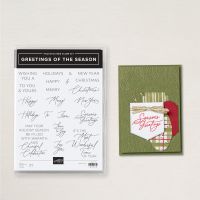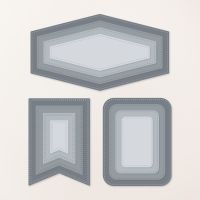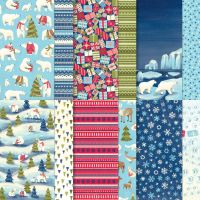
I had some fun over the weekend creating a batch of Holiday cards featuring some retired Designer Series Paper. Earlier this week I shared a post that used the same sketch-inspired layout and I mentioned I’d be sharing another card using that design. Well, this is it! I made 12 of this card and I’m happy to get started building my stash of Holiday cards to send this year. I need to make a bunch more, but it’s very helpful to start adding to the inventory before I’m in the stressful Holiday season.
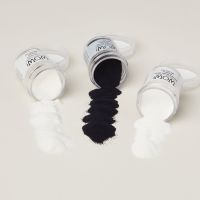
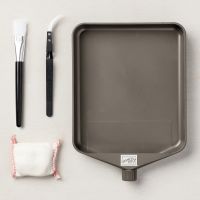
You may not be able to tell from the picture but the stamped greeting is actually heat embossed. I’ve fallen back in love with heat embossing apparently since I keep pulling out my heat tool!😉 Heat embossing was my gateway drug to stamping oh so many years ago. When I saw the magic of stamping an image and then using the heat tool to turn the powder from dusty grey to shiny silver I was absolutely hooked. That magic is still pretty freakin’ cool many years later!
The embossing on this card actually requires stamping the greeting 2 times. Here’s how I did it:
- You need a stamp positioning tool like the retired (and beloved) Stamparatus to make this easy-peasy
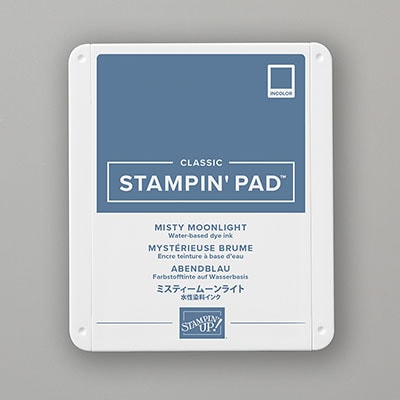
- First stamp the image in the color of your choice – in this instance I used Misty Moonlight
- Clean the stamp – don’t forget this step 😁
- Stamp again with Versamark directly over the original stamping
- Apply clear embossing powder
- Heat the embossing powder like normal
- Now you have a stamped/embossed image in any color in your ink supply!

