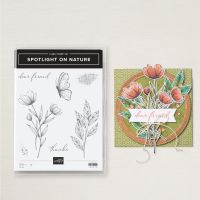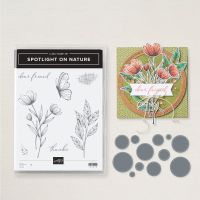
I mentioned the other day that I re-discovered heat embossing thanks to the online stamping event that I attended in late July. This card was part of the group of projects that reminded me how amazing and versatile heat embossing is. I love the clean lines and simplicity of the layout of this card which allows the water coloring on the main layer to really stand out. This card features the Spotlight on Nature bundle which is one of the most popular bundles in the main catalog. Just to be clear – I don’t know from any official statement that the Spotlight on Nature bundles is the most popular. I’m basing that opinion on how often I have noticed that the bundle or one of the parts becomes non-orderable because the warehouse has been emptied. The stamp images are gorgeous and the circle dies of many sizes are really amazing and will be useful year round.
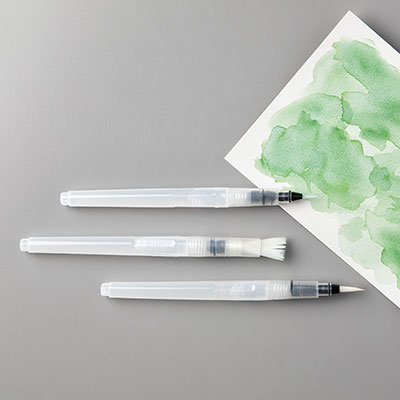
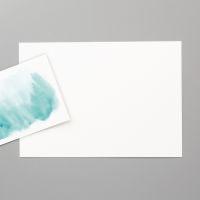
The water coloring on this art layer is really easy to do. You only need ink pads, watercolor paper, water painters and some patience. I encourage you to give it a try! Every time you do it the results will be a little different. Here is how I created the watercolor panel.
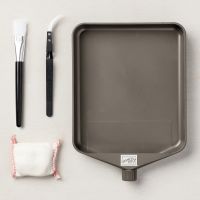
- Rub the watercolor paper with the anti-static bag from the Embossing Additions set
- Stamp the image in Versamark ink
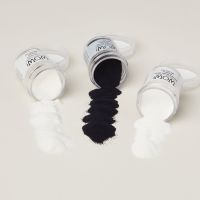
- Add White embossing powder
- Heat set with the Heat tool
- Add water in and around the flower image to pre-wet the paper
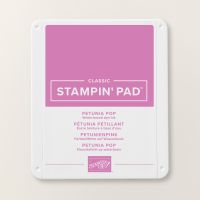
- Squish the Petunia Pop ink pad to put some ink on the lid
- Alternatively you can use the Petunia Pop ink refill and put a couple of drops on an acrylic block
- Use a water painter to paint some of the ink on the flower images
- Don’t worry about keeping the ink inside the lines, it’s about letting the ink flow a bit outside the image
- You can add more ink to darken the color
- Once you have the color intensity that you want, let the panel dry thoroughly
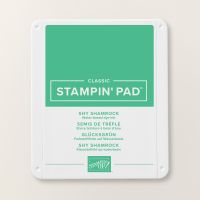
- Following the same process, add water and then Shy Shamrock ink in and around the leaf images
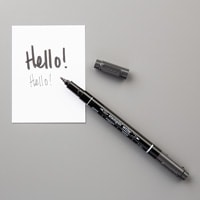
- Once it is dried, flick some small specks of black ink on the art panel with the Basic Black Stampin’ Write Marker

This is the inside of my card, and it is soooo pretty! You may not be able to tell from the picture – that leaf image is heat embossed. I followed the same steps that I described in this post. I won’t describe it again – just use the link I provided for the details. I really like this technique to add a stamped image that has a bit of texture when you rub your fingers over it. It is so easy and creates wonderful, handmade results.
Product List
